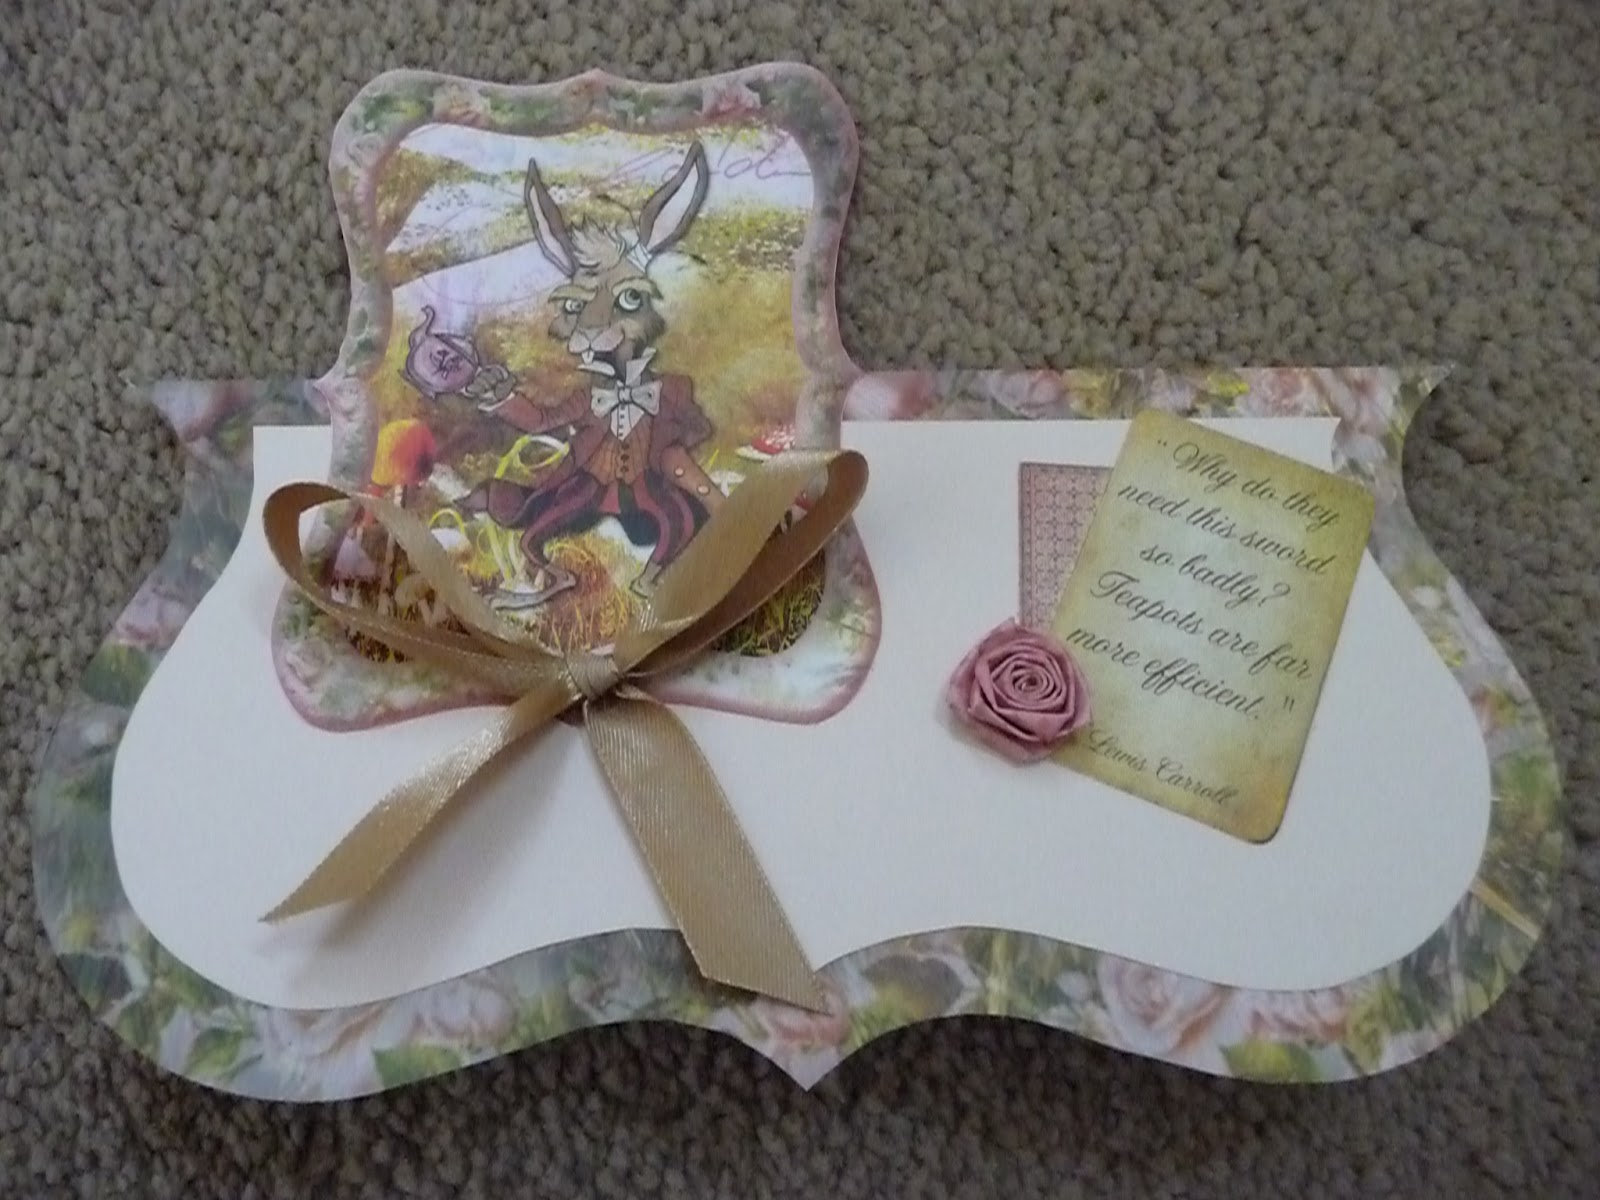
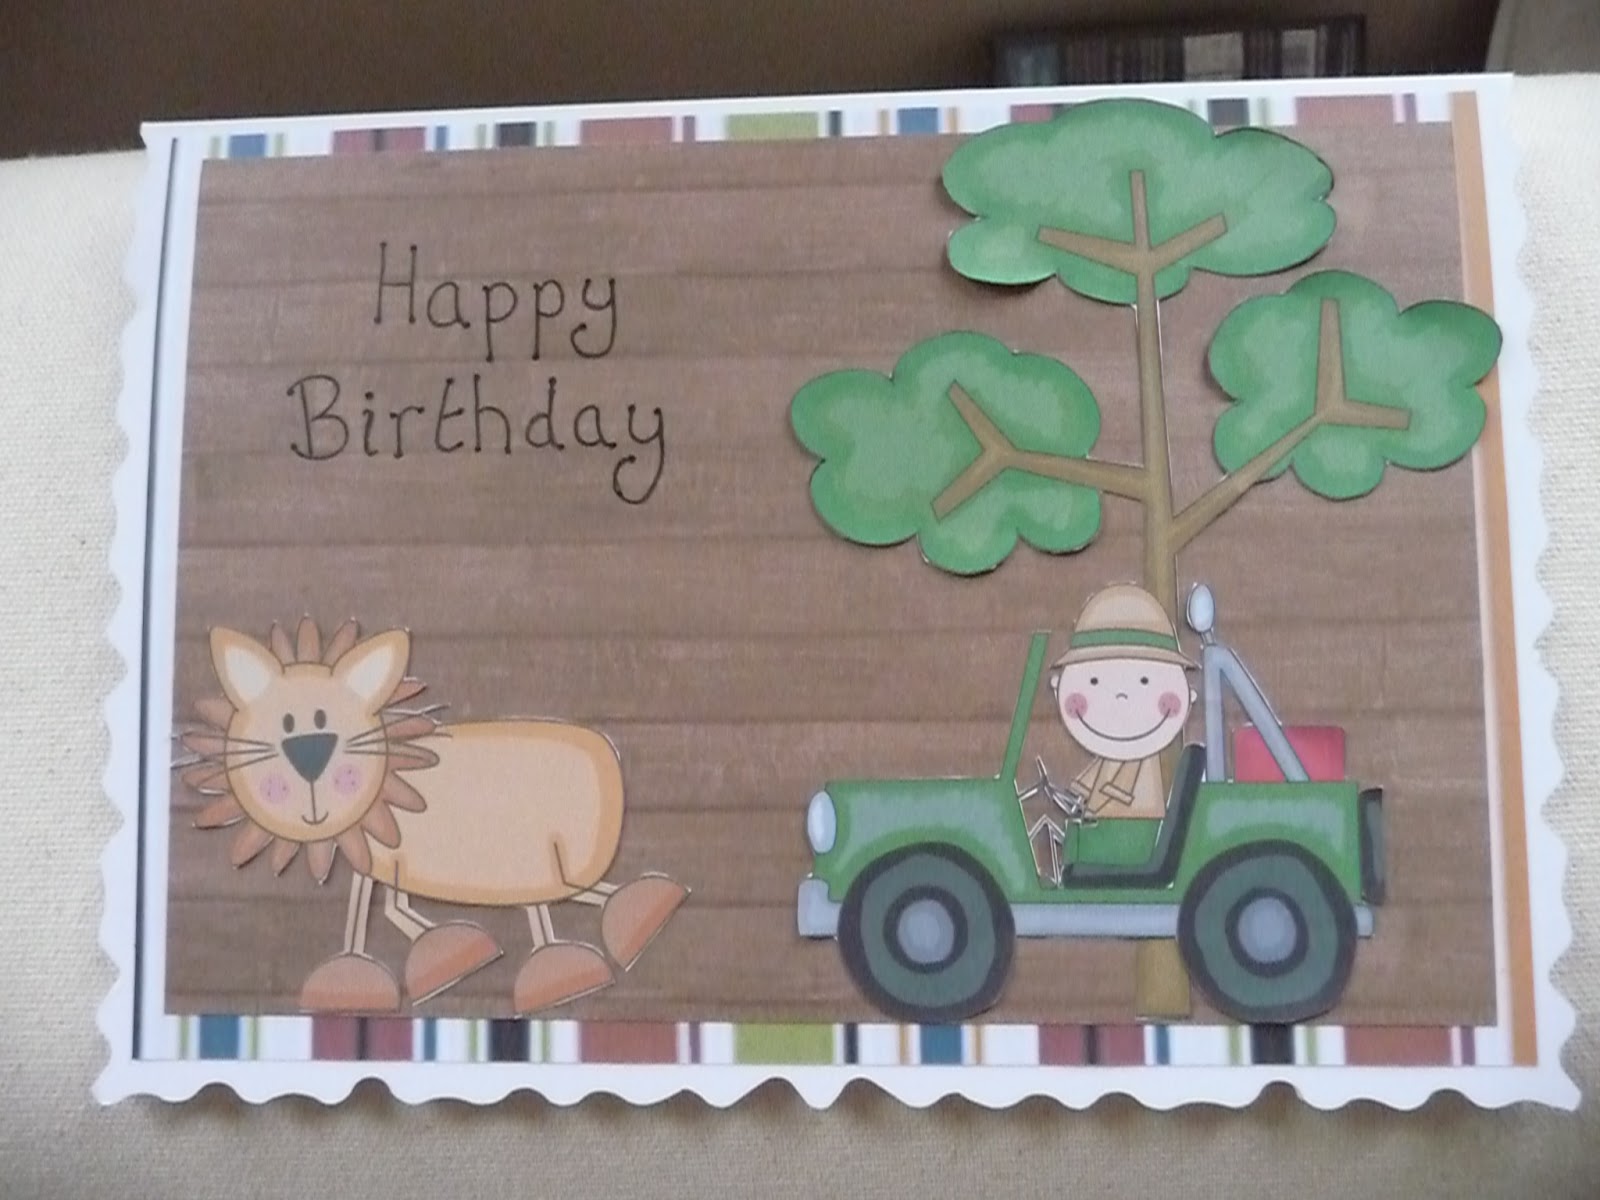
I seem to be doing more digi crafting than normal crafting just lately. This will be changing this week as I've got a few card orders in, so will share those once I've made them.
This is my latest digi LO. I love this photo, and I can see me making a lot more LO's using this digi kit (Inner Void, from Creative Victorian Designs)
Wednesday, 9 May 2012
Friday, 13 April 2012
April Showers
This isn't the best photo, but this is my latest canvas.
This was made as part of a challenge with the prompts April Showers, Navy and Buttons.
I painted the canvas a light blue, and then used a tissue and white paint to add the clouds. I cut out the bluebirds and the daffodils (after colouring them in with my promarkers). The hills are green paper that I scrunched up and then distressed with Peeled Paint distress ink. Finally I added the wording which is from the Al Jolson song April Showers.
Sunday, 19 February 2012
Some new (and old) cards
This is a bit of a long picture post with quite a few cards that I have been making since christmas but haven't got round to putting on here. I will try to remember what I used for them all :o)
This first one was made using the 'Very Important Date' from My Paper Stash. All I did was add a little bit of ribbon.
This one is from a Hunkydory kit. I made up the box as it came in the kit and attached a piece of acetate on the front that I had used glossy accents on to make it look like it was raining.
I can't remeber where I got the digital stamps from for this one, but it was for my cousins eldest sons 4th birthday.
I used my circle cutter for this. I cut a 6" circle and folded it in half to make the card and then cut the layers to make the rainbow. The digital stamp and the transfer letters were ones that I've had in my stash for ages and never got round to using.
A simple thank you card for a friend using the stamp and backing papers that came free in a recent magazine. I just added the extra little bits to glam it up :)
Another digital stamp that I've had for a while and never gotten round to using. I think the papers on this are from k&co
A last minute valentines day card. I stamped and embossed 'love' with black embossing powder, and then stamped the heart in silver and embossed with ultra fine embossing powder.
The backing paper and images on this one are from the My Craft Studio cd 'Tinkering With Steampunk'. The car is from a Hunkydory kit and the little clock charm was from my stash.
I will try to post more often, as I make things rather than having to have big catch up posts like this :P
This first one was made using the 'Very Important Date' from My Paper Stash. All I did was add a little bit of ribbon.
This one is from a Hunkydory kit. I made up the box as it came in the kit and attached a piece of acetate on the front that I had used glossy accents on to make it look like it was raining.
I can't remeber where I got the digital stamps from for this one, but it was for my cousins eldest sons 4th birthday.
I used my circle cutter for this. I cut a 6" circle and folded it in half to make the card and then cut the layers to make the rainbow. The digital stamp and the transfer letters were ones that I've had in my stash for ages and never got round to using.
A simple thank you card for a friend using the stamp and backing papers that came free in a recent magazine. I just added the extra little bits to glam it up :)
Another digital stamp that I've had for a while and never gotten round to using. I think the papers on this are from k&co
A last minute valentines day card. I stamped and embossed 'love' with black embossing powder, and then stamped the heart in silver and embossed with ultra fine embossing powder.
The backing paper and images on this one are from the My Craft Studio cd 'Tinkering With Steampunk'. The car is from a Hunkydory kit and the little clock charm was from my stash.
I will try to post more often, as I make things rather than having to have big catch up posts like this :P
Wednesday, 8 February 2012
We're off to see the wizard....
The wonderful wizard of Oz!
I'm really happy with how my latest canvas turned out. It's not very often that things turn out the way that I see them in my head.
The yellow brick road is made using the 'waste' from a hole punch. It was a little time consuming, sticking them all down but I think the effect was worth the effort!
I'm really happy with how my latest canvas turned out. It's not very often that things turn out the way that I see them in my head.
The yellow brick road is made using the 'waste' from a hole punch. It was a little time consuming, sticking them all down but I think the effect was worth the effort!
Thursday, 2 February 2012
Been A Little AWOL
I haven't posted anything for quite a while. I've been feeling very crafty just lately but I've had so many ideas that I've been starting new things without finishing what I was already working on, which meant that I haven't had anything to show. I've got 3 finished projects to show though. I won't go into a lot of detail on how I made them so if there's anything you want to know, feel free to ask :o)
The first is a mini canvas. I've been wanting to have a go at doing a canvas for a while but never had the inspiration until I got a tub of Tim Holtz crackle paint!!
I also used images from My Craft Studio 'tinkering with steampunk' cd and some ribbon and flowers from my stash.
The next one is a charm bracelet. This is my first attempt at jewellery and I'm really pleased with how it's turned out.
And finally (for now at least), a scrapbook page. I may gone slightly OTT with the buttons but I had great fun making it.
I have a few cards to add as well but I will do those later tonight or tomorrow. x
The first is a mini canvas. I've been wanting to have a go at doing a canvas for a while but never had the inspiration until I got a tub of Tim Holtz crackle paint!!
I also used images from My Craft Studio 'tinkering with steampunk' cd and some ribbon and flowers from my stash.
The next one is a charm bracelet. This is my first attempt at jewellery and I'm really pleased with how it's turned out.
And finally (for now at least), a scrapbook page. I may gone slightly OTT with the buttons but I had great fun making it.
I have a few cards to add as well but I will do those later tonight or tomorrow. x
Friday, 6 January 2012
Digi Layouts
I haven't really felt like doing much crafting this past week as I'm still suffering with a cold that I've had for about a month, and I've got a poorly little boy so I haven't really had my evenings to myself (plus I'm limited with what I can do with a little boy asleep on my lap!). I can't go a week without some form of crafting though so I've been having a play with my new serif software and have done a couple of digi layouts. I'm still trying to get to grips with the software so I'm pretty happy with how these have turned out.
Sunday, 1 January 2012
Kanban Bunting
I had a collection of Kanban card that was just to nice to use for matting and layering on cards so I thought I would make something a bit different with it (it was either that or I was just going to sit and stroke it rather than use it).
Flag 1:
The first flag has been decorated using some ribbon from my stash, and a birdcage and bird that have been covered in paper from the Kanban 'Industriana' paper pad.
Flag 2:
The second flag was decorated with lace from my stash, flowers from wild orchid crafts, and 2 hot air balloons that were printed from the my craft studio 'tinkering with steampunk' cdrom and then distressed with distress inks.
Flag 3:
The third flag was simply decorated with an offcut of card from flag 1, some lace and some paper flowers that I made using paper from the Kanban 'Industriana' paper pack.
Flag 4:
This was the simplest of the flags to decorate. I punched holes at regular intervals and threaded rafia ribbon through to imitate the lacing on a corset. I then added a few metal embellishments.
Flag 5:
The card stock that I used for this flag had some embossing on it that was green when you looked at it from a certain angle so I wanted to stick with greens to try and bring it out more. I snipped into some ribbon and attached it to the outside of the flag, I made a flower from some lace and added a button in the centre, and placed a metal butterfly to cover the join in the lace. I then stamped an image from the Kanban 'Jasper' stamp set and coloured it in using promarkers. I also stamped on the background card using the cogs from the same stamp set.
Flag 1:
The first flag has been decorated using some ribbon from my stash, and a birdcage and bird that have been covered in paper from the Kanban 'Industriana' paper pad.
Flag 2:
The second flag was decorated with lace from my stash, flowers from wild orchid crafts, and 2 hot air balloons that were printed from the my craft studio 'tinkering with steampunk' cdrom and then distressed with distress inks.
Flag 3:
The third flag was simply decorated with an offcut of card from flag 1, some lace and some paper flowers that I made using paper from the Kanban 'Industriana' paper pack.
Flag 4:
This was the simplest of the flags to decorate. I punched holes at regular intervals and threaded rafia ribbon through to imitate the lacing on a corset. I then added a few metal embellishments.
Flag 5:
The card stock that I used for this flag had some embossing on it that was green when you looked at it from a certain angle so I wanted to stick with greens to try and bring it out more. I snipped into some ribbon and attached it to the outside of the flag, I made a flower from some lace and added a button in the centre, and placed a metal butterfly to cover the join in the lace. I then stamped an image from the Kanban 'Jasper' stamp set and coloured it in using promarkers. I also stamped on the background card using the cogs from the same stamp set.
Subscribe to:
Posts (Atom)